Oneledger Step-by-step KYC instructions:
Welcome to the KYC self help article for Oneledger. This article is meant to assist our supporters with the tedious (but much necessary) task of getting through the KYC, and ultimately getting those OLT tokens in your wallet during the public sale.
So without further ado, let’s get started!
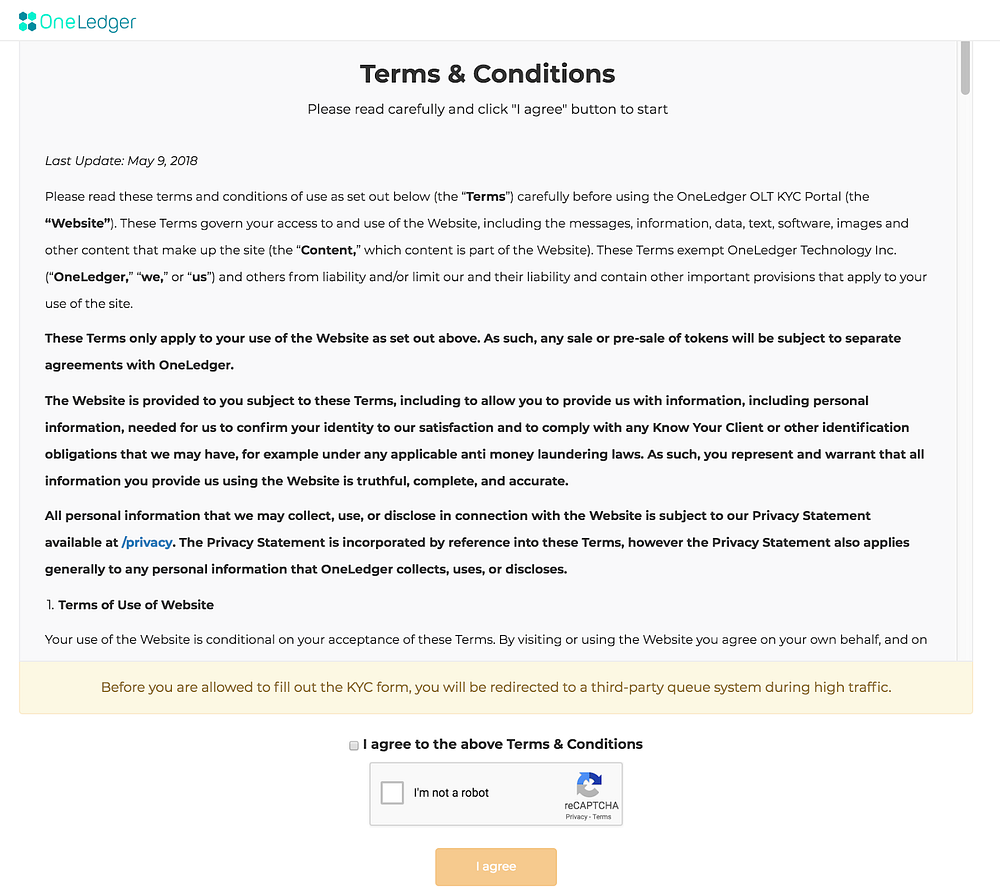
Step 1: Agreeing with the Term and Conditions
Go to https://kyc.oneledger.io/#/kyc, you should be directed to the Terms and Condition page. Please read through all clauses carefully. Once done, click on the “I Agree” button at the bottom of the page.
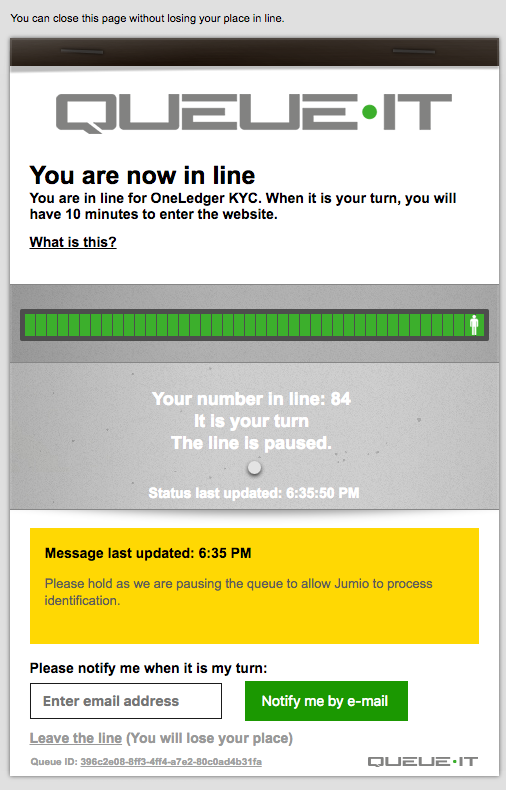
Step 2: Enter a Queue
The KYC processing status will be shown through the queue message. You don’t have to wait in front of your computer, instead, you can input your email address, and be notified when it’s your turn.
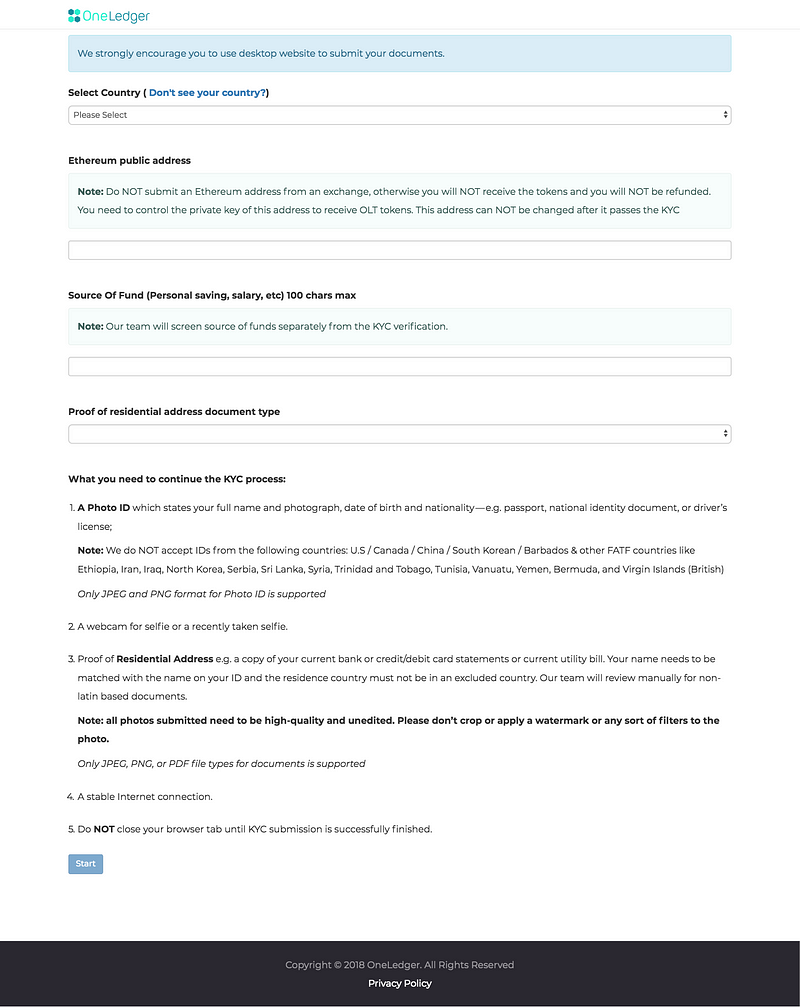
Step 3: Filling in of basic information
Fill in all questions accordingly on this page, then proceed on by clicking on the “Start” button. Please take note NOT to submit addresses from exchanges, and ensure that you personally control the private key of this address as OLT tokens will be sent there.
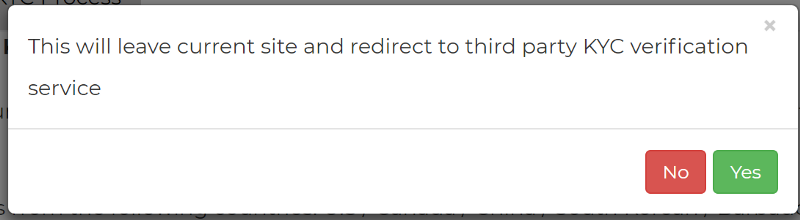
A pop-up should appear (as per below image), to confirm that you are leaving the current site to a third party KYC verification service.
Step 4: Uploading of ID and proof of residential address
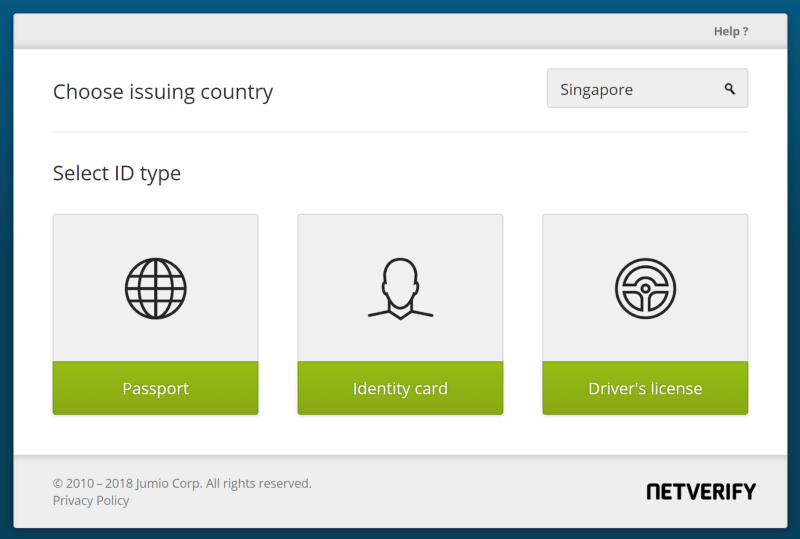
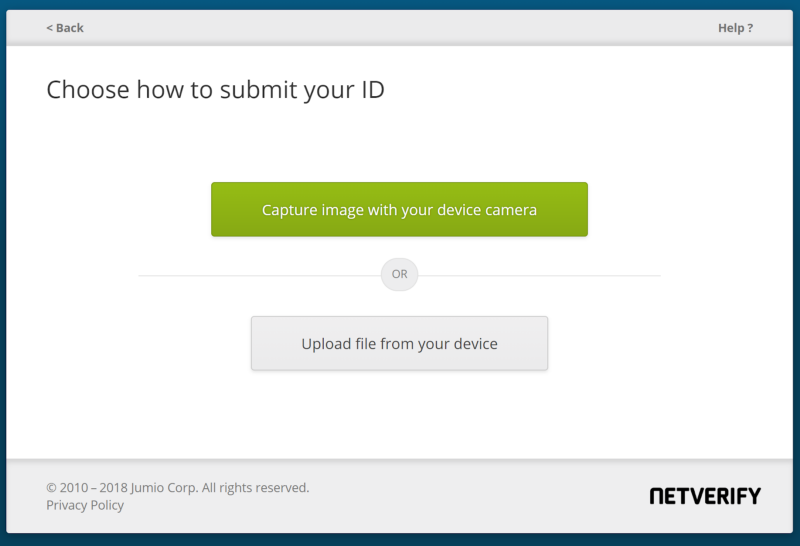
You should be re-directed to NETVERIFY (by Jumio). Click on the ID type that you would like to submit for the OneLedger KYC. You will have the option to submit your ID either via:
1) Capturing an image with your device camera, or 2) Upload files from your device.
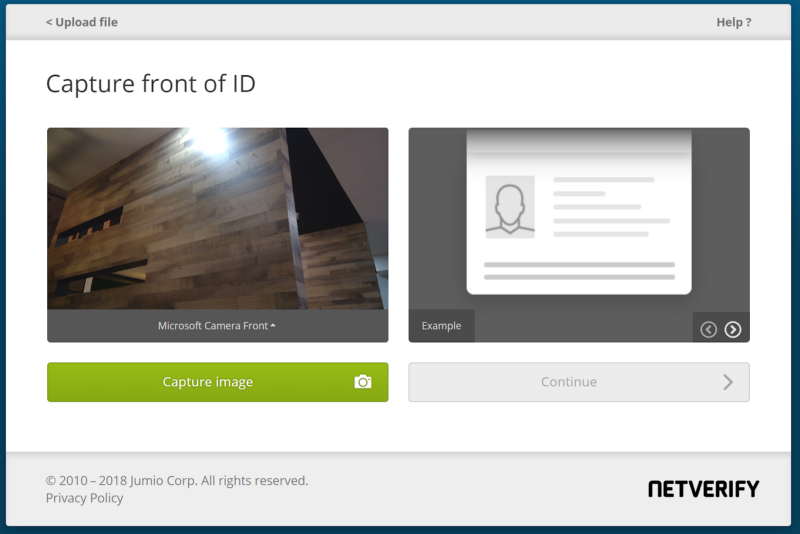
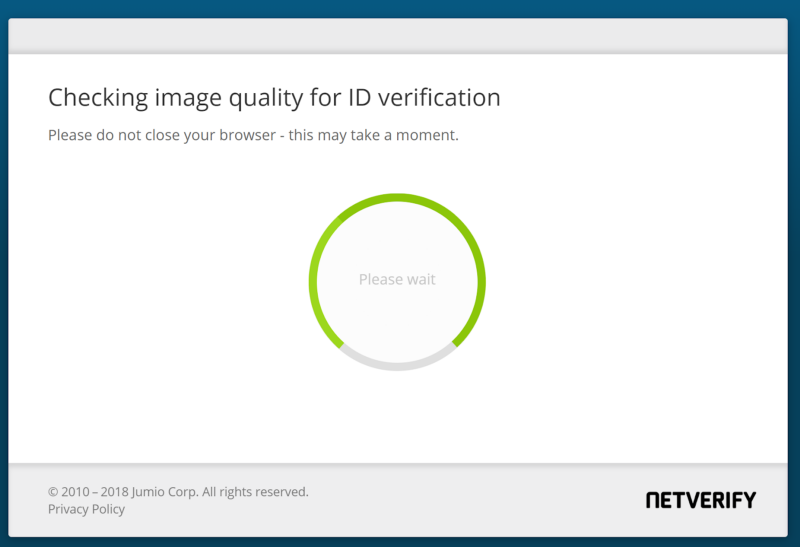
Once submitted, you should be on this page, awaiting for confirmation.
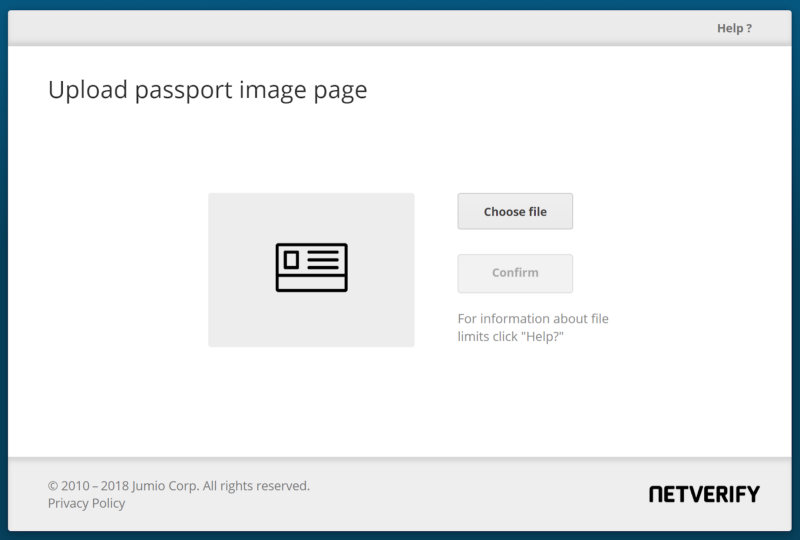
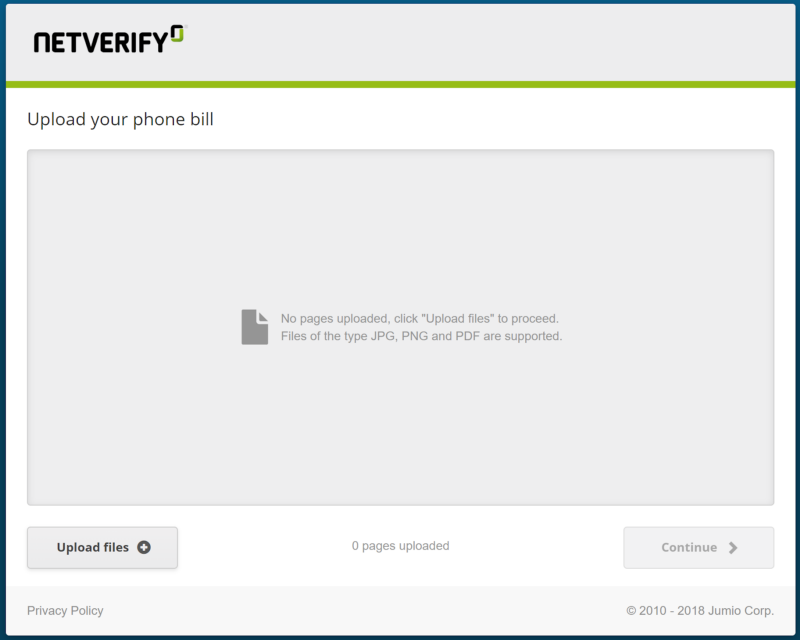
After which, you will be automatically re-directed again to upload your proof of residential address, as per the screen below:
Step 5: Success (in uploading of documents and information)
A success screen should be shown with a reference number, to be saved securely for future references.

You can use this reference to look up the verification status of your Photo ID and Selfie on our KYC site after all KYC submission are processed. However, the Proof of Address document will be verified in a separate process.
Do take note that this DOES NOT mean that your KYC is successful. This just means that you have successfully uploaded your documents into our system for KYC verification checks which takes up to a week.
What to do next?
Kindly wait patiently for the KYC process to be completed. We will publish an announcement and you will be able to check your KYC approval status through the link provided.
If you have not read up on our Ambassador Program, you can find out more about it at https://medium.com/@OneLedger/announcing-kyc-registration-and-the-oneledger-ambassador-program-7840fccda333. We will release instructions on the submission of OneLedger Ambassador Program in the coming days.